
Patagonia Kit – Climbing in El Chaltén
- willrupp
- Mar 24
- 6 min read
Climbing in Patagonia is dictated by one single factor: the weather. Conditions determine almost every decision you make, particularly how light you can go without pushing the boundary of safety that extra equipment provides.

The days are long, the rock is rough, and the impact this has on equipment is noticeable. Finding the balance between minimalism and durability becomes essential.
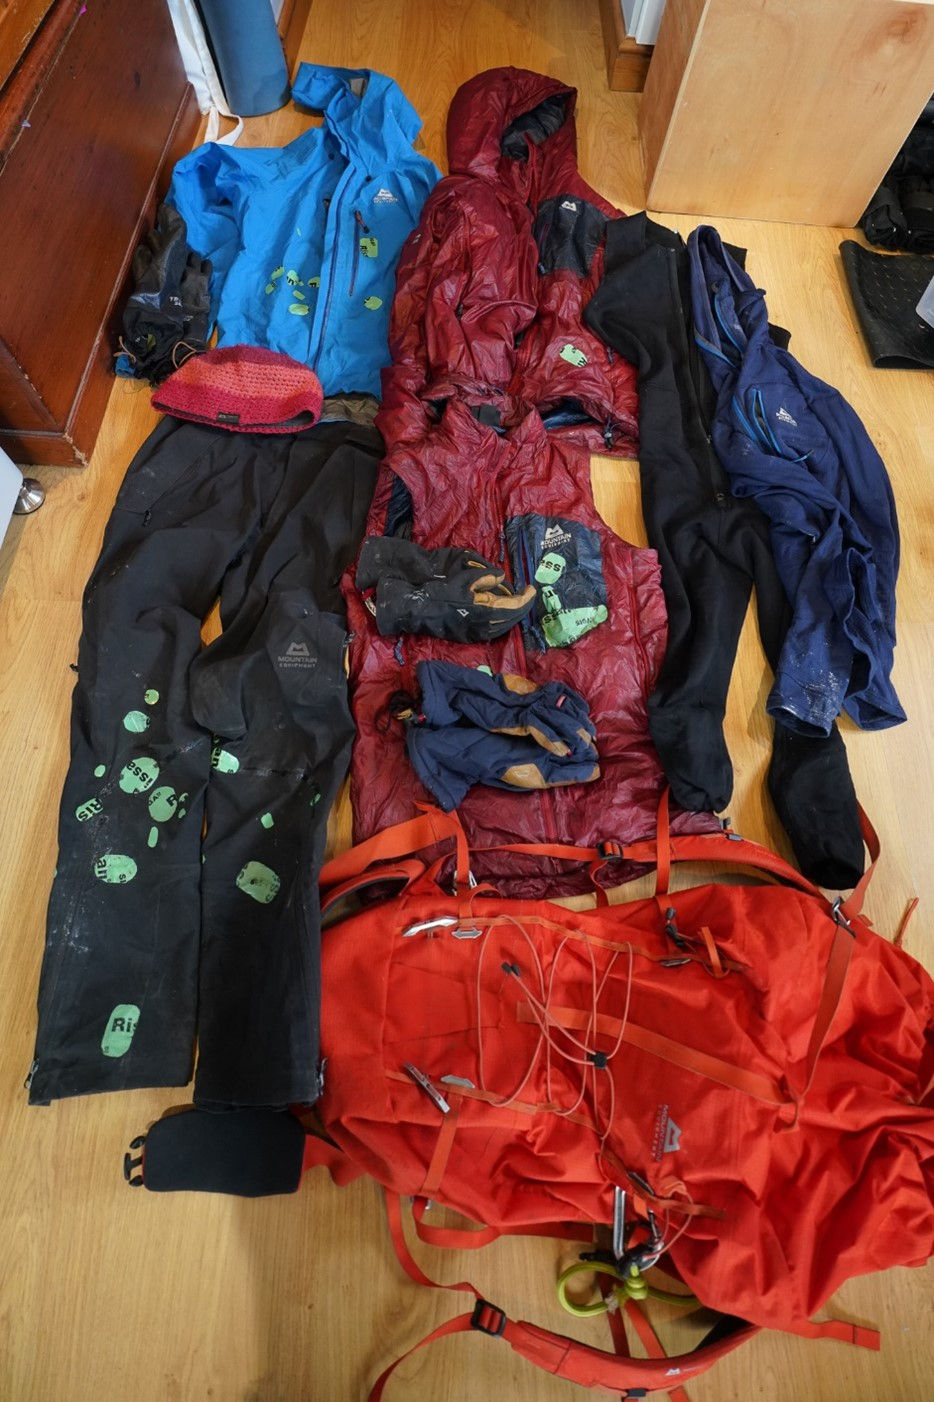
Clothing
Summer climbing in the El Chaltén Massif can vary wildly. You might start climbing in a base layer on a north face (the equivalent of a south face in the northern hemisphere), only to be battling wind and sleet moments later.
Outer Layers
The G2 Mountain Pants are one of those pieces of kit that can effectively replace three others.
On long walk-ins, wearing shorts can be nice, but it’s another item to carry when climbing — and it all adds up. The side zips on the trousers provide excellent ventilation, making walking in the sun bearable without needing a separate pair of shorts.
The trousers are waterproof enough that, in an environment where you’re often waist-deep in snow or dealing with drizzle, they keep you impressively dry. In fact, they’re so effective that I never felt the need to carry a separate waterproof trouser layer. The only time I’d consider that would be on an icier route, such as the Ragni.
Of course, they also function perfectly as a soft shell. The Velcro waist closure eliminates the need for a belt. Although they come with braces, I never felt the need to use them — another small saving.
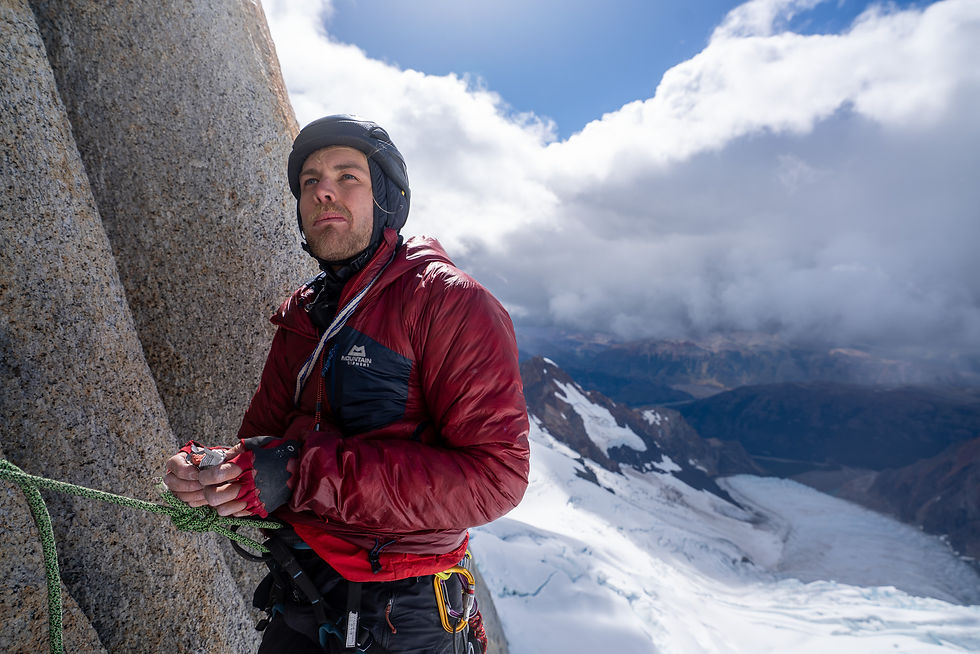
The Tupilak Jacket became a staple layer. Rarely was it used purely to keep rain or snow off; instead, it acted as a protective shell against rough granite and relentless Patagonian wind. I was mindful of keeping items in the front pockets, this quickly creates holes when the climbing gets wide.
Climbing in an insulated jacket as a top layer is difficult — arguably impossible — without damaging it. Wide cracks and deep hand jams quickly destroy delicate fabrics. One thing to watch with a shell jacket is storing hard objects in the pockets. Items like headtorches with sharp edges can create wear spots that eventually turn into holes.
The Oreus Jacket served as my main insulation layer. For its weight — and considering it’s synthetic — it’s remarkably warm. Depending on conditions I would either wear it under the Tupilak while climbing or just throw it over everything at belays.
A nice feature is the stretchy cuffs, which allow you to pull the sleeves up to your elbows while wearing it. This is surprisingly useful when crack climbing, where cuffs can quickly wear out from repeated jamming. Depending on temperatures I would either complement the Oreus jacket with the Oreus Gilet or add another full-sleeve synthetic layer.
Base Layers
One item that stands out as a complete game-changer is a base layer suit. The lack of a gap between the torso and legs eliminates the cold spot around the waist which, after many pitches of climbing in a harness, is often exposed.
The bum zip means it never needs to be taken off, and the front pocket zip is perfect for keeping batteries warm — something that’s essential when temperatures drop. During our season, summit temperatures were often forecast at around –10°C.
To complement the base layer suit, a lightweight hooded fleece works perfectly. A close-fitting hood under the helmet adds a surprising amount of warmth without adding bulk, while still breathing well on long approaches or sustained pitches. The Eclipse Hoodie is another versatile piece that can replace multiple items. The built-in ninja mask means you don’t need to carry a separate buff, and it fits closely to the face. It also works well in place of a sun hoodie, with the two-way zip allowing ventilation without opening the neck.

Gloves
On routes I usually carried two pairs of gloves:
A thin, tight pair for climbing
A thicker pair for snowy approaches and abseiling
On mixed terrain and rock it’s surprising how hard you can climb with a tight pair of gloves. A finger loop is essential to stop snow getting inside, but it’s worth being cautious when crack climbing with gloves — wide cracks can easily break the attachment points. The temres showa gloves are a great third pair for when it gets wet.
Footwear
On long routes done in a single push from a base camp I often carried three pairs of shoes. Approach shoes for walking, boots for snow or mixed terrain, rock shoes for the climbing. There are ways to simplify this system. One common solution is fitting lightweight crampons with bails to approach shoes, removing the need to carry boots altogether. However, often this comes as a scary compromise when you’re on steep unprotected snow.
Packs
A 45-litre rucksack was generally sufficient when climbing as a team of three. However, when more equipment was required, I would often switch to something in the 55–75 litre range.

Cooking and Sleeping
Sleeping systems in Patagonia can vary hugely depending on the objective. You might leave a tent at basecamp and climb a route in a single push, go up and over the mountain descending a different line, or simply carry emergency equipment in case things slow down.
Most of the time, climbing as a team of three, we carried a two-person tent. At roughly one kilogram it’s comparable to three bivy sacks, but the additional protection is well worth the weight.
We used the Samaya Alpinist 2, and I couldn’t rate it highly enough. Despite taking a serious beating from the weather, it stood up well to high winds and proved spacious enough for three people when needed.
For food, the simplest and lightest system is just dried food for breakfast and dinner, supplemented by around 5 protein bars and electrolytes throughout the day. Trying to eat anything else is slow and cumbersome, and means stopping.

We opted for aluminium poles instead of carbon. Although slightly heavier, they came into their own when pitching the tent in awkward, sloping spots with heavy winds. Aluminium poles can be bent back into shape rather than snapping outright.
For sleeping bags we would sometimes share to reduce weight. I used a Xenith III, both solo and shared as a quilt. It was warm enough in both configurations, occasionally requiring both layers — and sometimes a bit of spooning when sharing.
For sleeping mats we kept things simple when going light. Two Therm-a-Rest Z-Lite mats were shared between three people. If we were leaving the tent set up at basecamp for single-day pushes we would instead bring inflatable mats.
Rope Systems
Rope systems in the mountains often come down to preference, but in Patagonia speed is everything.
Using a single rope paired with a tagline or skinny half rope works best. This allows techniques like fix and follow, short fixing and simul climbing.
If maximum speed is required, having the second climber jumaring with the backpack is often the fastest system.
For me, the best rope by far is the Edelrid 8.9 mm single rope. The aramid sheath noticeably extends its lifespan and gives added peace of mind.
What really gives it an advantage is that it stretches less than many other single ropes for its diameter and weight. This makes jumaring and abseiling over edges noticeably better.
I often pair it with an edelrid rap line, pur Line, or a skinny half rope depending on the objective.
The rap line is great for multiple abseils with a tagline. It doesn’t slip much in a belay plate because it’s slightly thicker and less slick than other taglines. This makes it easy to pull through the next belay and continue abseiling as you would with half ropes. It can also hold a fall if needed. The downside is that it isn’t as light as a pur Line.
The pur Line is ideal when you only need a tagline for hauling and don’t expect to make many abseils. However, it can slip when abseiling combined with a single rope unless more time-consuming techniques are used. It’s also not a great situation to be left with only a pur Line if the main rope becomes stuck.

Climbing as a Team of Three
If pitches are short — such as on the Red Pillar — a three-person system using a single rope and tagline can be almost as fast as climbing as a pair.
The system works like this:
The leader climbs the pitch.
At the belay they pull up enough rope for the next pitch and fix the rope.
The second either fix-and-follows or jumars.
Once at the belay, the second begins belaying the leader again.
The third climber then follows or jumars behind on the spare rope.
On longer pitches, however, it often becomes necessary to use two ropes so both seconds can climb simultaneously.
Protection and Rack
Again, weight is paramount.
Ultralight cams, are the obvious choice. A standard Patagonia rack is usually double cams from small sizes to a number 4, combined with wires. Most routes follow crack systems where pieces rarely need extending, and nuts aren’t placed frequently. A rack of six alpine draws and four quickdraws worked well. A double set of Black Diamond Ultralight cams from purple to silver, combined with smaller Totems, worked well.
Expect to leave wires and tat when replacing old abseil anchors, so bringing several sets of wires is useful.
The Ultralights really come into their own in larger sizes. However, the wider cam head becomes more of a drawback in the 0.4 size compared with Totems or Z4s, where the marginal weight saving is less important.

Comments